Friday, July 25, 2014

Blanket Goodies

My new favorite crafty thing to make right now, sewing-wise, is definitely chenille-esque baby blankets.  They are made from flannel, so they are super soft and easy to make, and they are the newest addition to my Etsy shop.

They are the perfect size for a bassinet or car seat, or to be baby's security blanket, and I have a lot of un mixing and matching patterns.


Isn't this blanket so cute?  Its totally done in Tiffany blue-hues, and would be adorable for a little girl, am I right???

Here's a close up of the prints, along with close-ups of the other finished blankets:


Don't they just look so soft?!?!  I really enjoy making them, and I totally made one as a gift for my cousin's new baby.


I am totally looking for new themes and colors to make new little blankets in!


Friday, July 18, 2014

It's been quiet, too quiet ...

I know it has been quiet on here since before my wedding ... I mean to change that!

I will hopefully be posting more crafts soon, but for now, I want to announce my Etsy shop is reopened, and has some new goodies like these:


My sister in law is pregnant, so I have been making bunches of cute stuff for her, and I made some for my shop too!


Friday, February 28, 2014

Bridal Emergency Kit

Goodness! My wedding is only two weeks away!  It's practically here!

I mention this, because I am a planner.  I like things to be organized and I like to prepare for anything that might go wrong, so this week I put together my bridal emergency kit.  It has everything I could possibly need in case of emergency.  I browsed pinterest for ideas on what I would need, as well as talking to my future sister-in-law about what she needed for her wedding, as well as when she was a bridesmaid for a friend. This is what I have:


Whew! That's a lot! Here's a list of everything:

1. Sunscreen
2. Your favorite Body Lotion
3. CLEAR Deodorant (I usually use a white solid deodorant, but I want to make sure there are no marks!)
4. Eye Drops (I got the kind that won't react with my contacts)
5. Mouthwash
6. Gum
7. Dental Floss
8. Instant Tooth Brushes
9. Straws (for drinking with lipstick in place! Stay hydrated ladies!)
10. Duct tape (I chose white, because wedding ... hehe)
11. Simple snacks
12. Water bottles (Hydration!)
13. Tampons or Pads
14. Cotton Swabs
15. Clear Nail Polish (for nylon runs) and the Nail Color for your maids
16. Petroleum Jelly (perfect for those spots where your shoes rub too much)
17. Cotton Balls
18. Mints
19. Toothpaste
20. Toothbrush
21. Hand Sanitizer
22. Disposable Razors
23. Black Socks (perfect for those groomsmen who are bound to forget matching socks)
24. Safety Pins
25. Wet Wipes
26. Lip Balm
27. Make-up Remover Wipes
28. Nail Clippers/Nail File (I just got a nail kit with everything in it)
29. First Aid Kit (just in case!)
30. Tissues
31. Bobby Pins
32. Hair Ties
33. Static Guard
34. Wrinkle Release Spray
35. Activities for the kiddos (I don't know about you all, but I have two 5 year olds that are going to be hanging about, and I want to keep them busy!)
36. Headache Meds
37. Upset Tummy Meds
38. Allergy Meds (for all the meds, I found ones that don't need water to take them)
39. Little Scissors
40. Dress Tape
41. Lighter
42. Super Glue (just in case of broken heels!)
43. Lint Roller

Not pictured (Things I remembered after I took the picture):
44. Hot Glue Gun/Sticks (because I crafted almost everything, i want to make sure nothing gets damaged in transit)
45. Perfume 
46. Mini-Sewing Kit


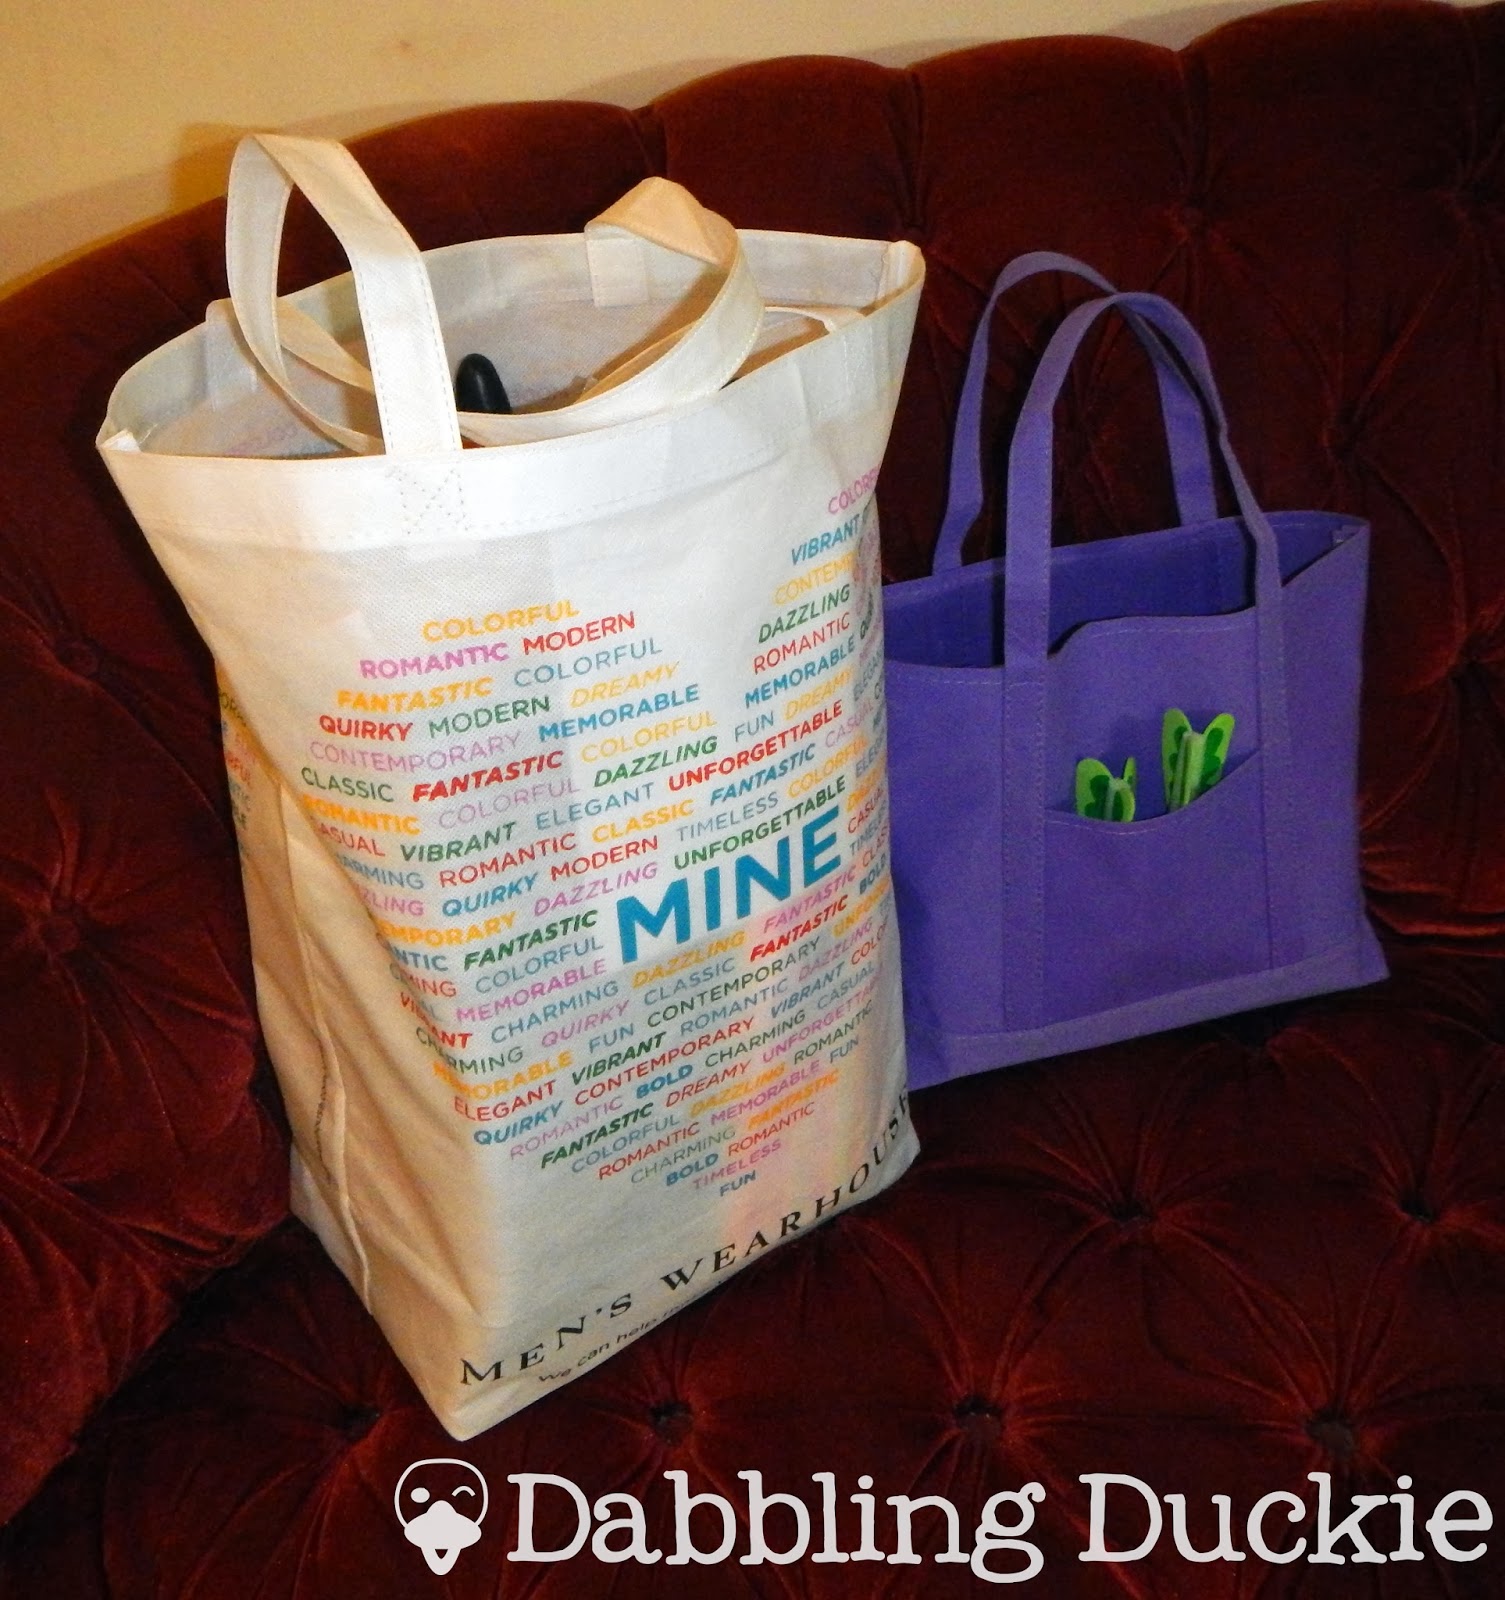
Once I got everything sorted, I bought some plastic reusable tubs to keep everything sorted inside my big bag of stuff so I don't have to dig to find anything.  The bag I used was an oversized reusable bag that I got at a Bridal Expo that I attended.  The kids' activities got their own bag, partially so we can plunk them down somewhere, and partially since I didn't have any room left in my big bag!


I have fun sorting everything, and I think I am going to be prepared for anything!


Friday, February 14, 2014

Happy Valentine's Day!

Sorry for being absent for the month of February so far, but I had to make an appearance for Valentine's Day!  School has been crazy, but I wanted to take some time to do something sweet for my fiance! I am in the middle of baking him a cake (crossing my fingers that it comes out nice!) and I made him a card.

Inspired by this card.


I couldn't resist such a cute nerdy card, considering I am getting married on Pi Day!


I will be sure to take some pictures of the cake, whether is comes out nice or not ... :)


Saturday, February 1, 2014

Take a Peek!

So, I am not quite finished with the tutorials for these, but here's a sneak peek of the flowers I am making for my wedding!


I am using flowers like these for my bouquets, the bridesmaids bouquets, the men's boutonnieres, the wristlets for the mothers, and the aisle decorations, phew! It's a lot of work, but it's a labor of love!


Thursday, January 30, 2014

Book Review


So, did I ever tell you that I loveLOVElove to read? Well, I do!

So I thought I would try giving you a series to look into: the Newbury and Hobbes Investigations by George Mann.  I found the second book of this series at the Dollar Tree, and I loved it so much, I ordered the first and third books from the series from Amazon.


 (Book 1, image from Amazon, Book 2, image from Amazon, Book 3, image from Amazon)

I think what drew me some much to these books is that they were both steampunk, as well as mystery books.  I love myself a good mystery, but most of the steampunk books I have read aren't really mysteries.  The Newbury and Hobbes series has a hero and heroine that you will fall in love with, because they are good characters, but they also have secrets and character flaws.  They are relate-able, for sure!

I highly recommend looking into this series!


p.s. while collecting the images for this post, I found out there is a fourth book I somehow missed! Adding to my cart now ... ;)
Book 4, image from Amazon

Wednesday, January 29, 2014

DIY Wedding Banner

So, I am not quite to the age where all of my friends have small children I can borrow for my flower girl or ring bearer, but my fiance has a cousin with small children, so we lucked out! In fact, our ring bearer and flower girl are actually twins! So cute right?

Well, what if you don't have a little girl to include in your wedding? In our case, that's not a problem, but the twins have an older brother we didn't want to leave out, so we turned to a solution that I have seen popping up over on Pinterest (follow me!) ... a banner boy!

Then I needed to decide exactly what kind of sign or banner he would be carrying.  So I came up with this:


I only spent about $6 on this project (I din't have to spend money on the spray paint, because I had already bought some for other projects, but if you have to buy spray paint so should still spend less than $15).  I bought cheap foam core for the frame from the Dollar Tree (I could live there!), the ribbons came from Joann's, and I used puffy paint I found at the 99 Cents Only Store, spray paint (black and copper) and acrylic paint, with hot glue holding it all together.


I started by measuring out the size I wanted overall, and the thickness of the frame. My overall frame is 15 inches by 20 inches, and the frame width is 2 inches.


I then decided on a vintage frame shape, so I found the centers of each side and blocked out an inch on either side of the center for a square on the frame, and I measured in a half inch all the way around, for sketching in the curved parts of the frame.


I used the skinny rectangles as my guides for the curved edges, by marking the center of the inner line, I sketched in from the outer corners to the center.  I wasn't going for absolutely perfect, but if you want it more precise, I suggest trying to find a bowl or container with the right diameter and tracing it.


Then you just need to cut out the outer edge (and the inner rectangle, so the frame is empty, but I forgot to take a picture of this). By cutting out the inside, it gives the banner/sign more dimension, so it doesn't seem so flat.


Next, you need to cut out a second rectangle, slightly bigger than your opening.  My opening was 11 inches by 16 inches, so I cut out a rectangle that was 12 inches by 17 inches, so each edge would have a half inch overlap.


You don't need to do this next step for the inner board, because it won't really be seen, but I highly recommend it for the frame.  I hot glued a ribbon the same thickness as the foam core all the way around the edge, both on the outside and inside edges of the frame.  This both gives it a nice edge, as well prevents the spray paint from dissolving the inner foam, and making the edge look weird.  If you aren't using spray paint, this isn't necessary, because acrylic paint doesn't normally dissolve foam, but I still like the classed up edge ... haha.


Here's a close up with both edges done (sorry about the blurry picture!). My ribbon is a tiny bit wider than my board, and you can probably see it sticking up a bit, so I made sure that I lined it up with one edge, so all the excess was on one side (aka, the BACK, haha). Then I spray painted both the frame and board with light coats (matte black for the board, and metallic copper for the frame), since the foam core is paper clad, I didn't want the paper to wrinkle if it got too wet all at once.


After the paint, I added my copper puffy paint (in stages, so I wouldn't smear the details I had already put on as I was adding more). I also realized I didn't like the color of the copper puffy paint, versus the color of the spray paint (the puffy paint was a bit redder) so I knew I would need to do a coat of spray paint so that is was all the same color.  I briefly thought about aging the frame, and adding patina, but since I don't have a lot of aged stuff, I decided against it, but maybe for after the wedding! I also ended up adding more detail.  Without the puffy paint, it was a bit blah, and with more and more added detail, it didn't looked like cut out foam core anymore.

After hot gluing the two pieces together, I decided I wanted to paint on the "Here Comes the Bride", instead of making it into a chalkboard.  With it being handled by small kids, I figured it might get wiped off or smeared otherwise. I didn't trust my freehand skills, so I printed out a stencil to use.

Three stages of the process at once!


I cut out each word and figured out the placement first, marking the edges with painter's tape.  Then I remove the word, and coat the back of the paper with chalk (making sure I covered the space where the word is extra thoroughly).  I place it back where it was, and trace the outside edge of each letter, with some pressure.  This is my way of making my own kid of carbon transfer paper.  After I get the outline in place, I carefully paint in the word, taking care not to wipe off the stencil.


After getting in one coat for each word, I then go through and wipe off the chalk smudges that are left over (you can see them around the words in the picture above).  I then added a second coat of paint, so that the words are bolder.  I only did two coats though, so that it is still a bit streaky, because it makes it so it still looks a bit chalk-ish.


All that is left is adding the ribbon so that it can hang from the neck of the banner boy; although, you don't have to only use this kind of sign for a banner boy, it would be cute for any kind of sign you might need for your wedding (or party!).  You could even leave out the "chalkboard" center and use it as a photobooth prop!

I really loved how it turned out!