Showing posts with label crafts. Show all posts

Friday, July 25, 2014

Blanket Goodies

My new favorite crafty thing to make right now, sewing-wise, is definitely chenille-esque baby blankets.  They are made from flannel, so they are super soft and easy to make, and they are the newest addition to my Etsy shop.

They are the perfect size for a bassinet or car seat, or to be baby's security blanket, and I have a lot of un mixing and matching patterns.


Isn't this blanket so cute?  Its totally done in Tiffany blue-hues, and would be adorable for a little girl, am I right???

Here's a close up of the prints, along with close-ups of the other finished blankets:


Don't they just look so soft?!?!  I really enjoy making them, and I totally made one as a gift for my cousin's new baby.


I am totally looking for new themes and colors to make new little blankets in!


Friday, February 14, 2014

Happy Valentine's Day!

Sorry for being absent for the month of February so far, but I had to make an appearance for Valentine's Day!  School has been crazy, but I wanted to take some time to do something sweet for my fiance! I am in the middle of baking him a cake (crossing my fingers that it comes out nice!) and I made him a card.

Inspired by this card.


I couldn't resist such a cute nerdy card, considering I am getting married on Pi Day!


I will be sure to take some pictures of the cake, whether is comes out nice or not ... :)


Saturday, February 1, 2014

Take a Peek!

So, I am not quite finished with the tutorials for these, but here's a sneak peek of the flowers I am making for my wedding!


I am using flowers like these for my bouquets, the bridesmaids bouquets, the men's boutonnieres, the wristlets for the mothers, and the aisle decorations, phew! It's a lot of work, but it's a labor of love!


Wednesday, January 29, 2014

DIY Wedding Banner

So, I am not quite to the age where all of my friends have small children I can borrow for my flower girl or ring bearer, but my fiance has a cousin with small children, so we lucked out! In fact, our ring bearer and flower girl are actually twins! So cute right?

Well, what if you don't have a little girl to include in your wedding? In our case, that's not a problem, but the twins have an older brother we didn't want to leave out, so we turned to a solution that I have seen popping up over on Pinterest (follow me!) ... a banner boy!

Then I needed to decide exactly what kind of sign or banner he would be carrying.  So I came up with this:


I only spent about $6 on this project (I din't have to spend money on the spray paint, because I had already bought some for other projects, but if you have to buy spray paint so should still spend less than $15).  I bought cheap foam core for the frame from the Dollar Tree (I could live there!), the ribbons came from Joann's, and I used puffy paint I found at the 99 Cents Only Store, spray paint (black and copper) and acrylic paint, with hot glue holding it all together.


I started by measuring out the size I wanted overall, and the thickness of the frame. My overall frame is 15 inches by 20 inches, and the frame width is 2 inches.


I then decided on a vintage frame shape, so I found the centers of each side and blocked out an inch on either side of the center for a square on the frame, and I measured in a half inch all the way around, for sketching in the curved parts of the frame.


I used the skinny rectangles as my guides for the curved edges, by marking the center of the inner line, I sketched in from the outer corners to the center.  I wasn't going for absolutely perfect, but if you want it more precise, I suggest trying to find a bowl or container with the right diameter and tracing it.


Then you just need to cut out the outer edge (and the inner rectangle, so the frame is empty, but I forgot to take a picture of this). By cutting out the inside, it gives the banner/sign more dimension, so it doesn't seem so flat.


Next, you need to cut out a second rectangle, slightly bigger than your opening.  My opening was 11 inches by 16 inches, so I cut out a rectangle that was 12 inches by 17 inches, so each edge would have a half inch overlap.


You don't need to do this next step for the inner board, because it won't really be seen, but I highly recommend it for the frame.  I hot glued a ribbon the same thickness as the foam core all the way around the edge, both on the outside and inside edges of the frame.  This both gives it a nice edge, as well prevents the spray paint from dissolving the inner foam, and making the edge look weird.  If you aren't using spray paint, this isn't necessary, because acrylic paint doesn't normally dissolve foam, but I still like the classed up edge ... haha.


Here's a close up with both edges done (sorry about the blurry picture!). My ribbon is a tiny bit wider than my board, and you can probably see it sticking up a bit, so I made sure that I lined it up with one edge, so all the excess was on one side (aka, the BACK, haha). Then I spray painted both the frame and board with light coats (matte black for the board, and metallic copper for the frame), since the foam core is paper clad, I didn't want the paper to wrinkle if it got too wet all at once.


After the paint, I added my copper puffy paint (in stages, so I wouldn't smear the details I had already put on as I was adding more). I also realized I didn't like the color of the copper puffy paint, versus the color of the spray paint (the puffy paint was a bit redder) so I knew I would need to do a coat of spray paint so that is was all the same color.  I briefly thought about aging the frame, and adding patina, but since I don't have a lot of aged stuff, I decided against it, but maybe for after the wedding! I also ended up adding more detail.  Without the puffy paint, it was a bit blah, and with more and more added detail, it didn't looked like cut out foam core anymore.

After hot gluing the two pieces together, I decided I wanted to paint on the "Here Comes the Bride", instead of making it into a chalkboard.  With it being handled by small kids, I figured it might get wiped off or smeared otherwise. I didn't trust my freehand skills, so I printed out a stencil to use.

Three stages of the process at once!


I cut out each word and figured out the placement first, marking the edges with painter's tape.  Then I remove the word, and coat the back of the paper with chalk (making sure I covered the space where the word is extra thoroughly).  I place it back where it was, and trace the outside edge of each letter, with some pressure.  This is my way of making my own kid of carbon transfer paper.  After I get the outline in place, I carefully paint in the word, taking care not to wipe off the stencil.


After getting in one coat for each word, I then go through and wipe off the chalk smudges that are left over (you can see them around the words in the picture above).  I then added a second coat of paint, so that the words are bolder.  I only did two coats though, so that it is still a bit streaky, because it makes it so it still looks a bit chalk-ish.


All that is left is adding the ribbon so that it can hang from the neck of the banner boy; although, you don't have to only use this kind of sign for a banner boy, it would be cute for any kind of sign you might need for your wedding (or party!).  You could even leave out the "chalkboard" center and use it as a photobooth prop!

I really loved how it turned out!


Sunday, January 26, 2014

Dapper Duck

So I thought I would give you another little glimpse of cute wedding-ness!


I made Duck a couple of cute little cufflinks to wear with his tux at the wedding.  I was going for cute, a bit of silliness, and steampunk!  I took a gear from my pack of gears that I bought at Michael's to use as the backing, a little duckie button I got from Joann's (it came in a pack of like 10), and used Sculpey to craft the little details of the wee top hat and scarf.  I used the scarf to cover up the button holes, so they wouldn't show, and I really like how it adds to the look.

I baked the Sculpey components in my crafts-only toaster oven (I don't like to mix crafts surfaces/tools with food surfaces/tools) for about half the time the Sculpey package recommended, and I checked in frequently.  I have past experiences where little components burn if you leave them in for the recommended time, so be careful.  I think they expect you to make bigger things than I make!

All I have left to do is attach them to the cufflink blanks (I bought mine here for $4.15 for five pairs, and they come in antique bronze, chrome, and shiny gold tones).  What do you think? Cute, right?


Friday, January 17, 2014

DIY Chalkboard Signs

So just the other day, I was complaining to my Matron of Honor about not knowing what to do about wedding signs.  I was thinking of using foam core, but It was mostly a back-up plan and I was mostly resigned to the idea, when she suggested something to me.


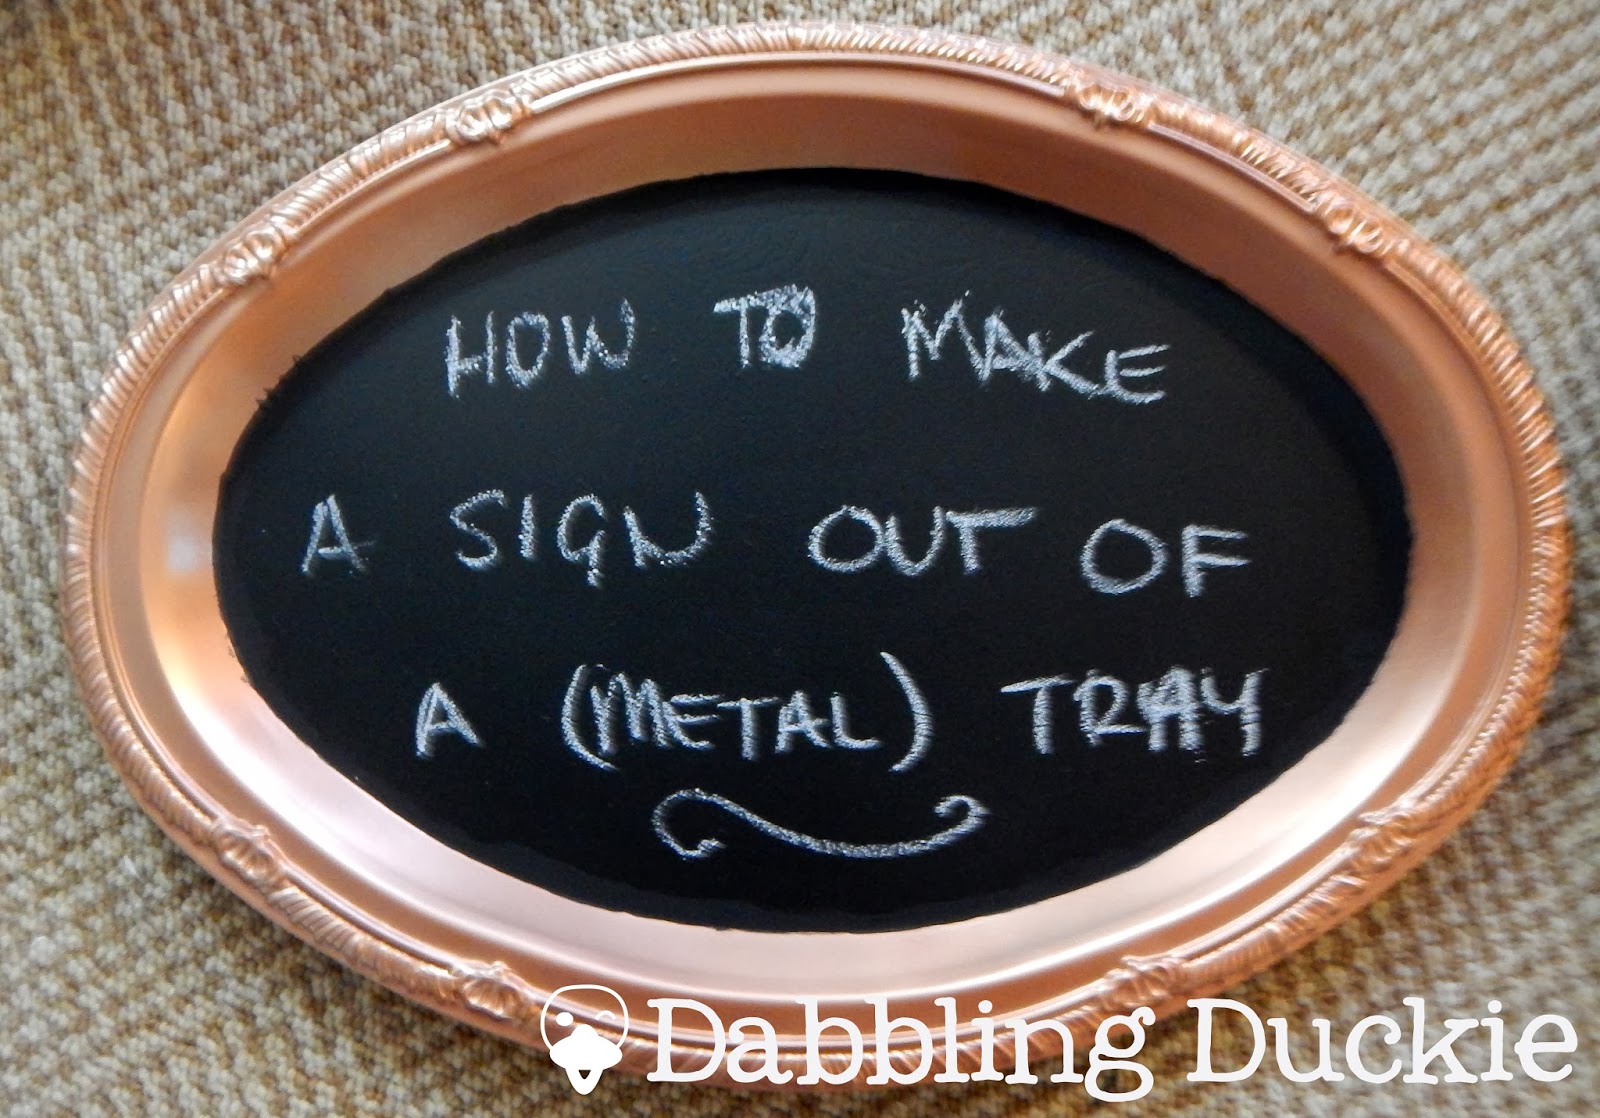
She was saying that she had seen where someone took cheap plastic trays, and spray painted them to be chalkboard in the center, so they could be used for anything!  I was immediately on board with the idea, and I had a cheap plastic tray that I was willing to sacrifice to the cause.

Well ... I ended up not liking the shape of the tray, so I decided to hit my local Dollar Tree and see if they had anything better.


Look what I found! There was a stack of these cute metal (not even plastic!) trays!  I immediately loved the vintage feel of them, and felt they would blend well with the rest of my Steampunk theme.


I immediately started taping them off so I could spray the middles with chalkboard paint.  As I was taping them off, I was thinking that although the color didn't match my theme, I was okay with that because my can of copper spray paint wasn't very metallic and I didn't want to use it on the border of the tray.  Weeeeell, by the time I had taped off most of the trays, I wasn't happy with the chrome/silver, so I ran off to Michael's to get a can of metallic copper spray paint.

Of course, this meant that I needed to untape all of the trays to get the copper sprayed first ... d'oh!  I am a very indesicive person ... haha.


So I focused on the border, giving the edges several light coats of paint.  When working with metallic paint, it is important to go slow and do light coats because paint drips are super obvious when using metallic paints.  I am not really very patient, but I managed to only get one small, barely noticeable, drip.


I did all the spray painting in my backyard, to prevent getting paint on anything important (my arm not withstanding) and so I didn't inhale too many fumes.  Please excuse my patio, it's been kinda ignored all summer long and with school projects, it has been getting a bit messy.


Remember that taping off process? Well, now it's time to re-do all off the trays.  I did two light coats of regular black spray paint that I had laying around, so that I wouldn't have to worry about using as much chalkboard paint.  I still sprayed two coats of chalkboard paint, before peeling off all the tape.  I touched up the edges with matte black acrylic paint, so they looked nicer and smoother (the matte black blended well with the matte chalkboard paint).


This also worked on the large plastic tray I found too.  So you can use pretty much anything you want for this project, and the border would work in any color too! Such an easy project, and super cute and helpful, that I am glad my Matron of Honor gave me the idea!


Tuesday, January 14, 2014

DIY Wedding Banner

So one of the first (of many) wedding crafts I have decided to share with you is one of the more simple ones.  Duck and I needed decorations for our sweetheart table, something different from our centerpieces at the rest of the tables, so I decided on a banner decoration since my bouquets will be on the table itself.


Inspired by the Steampunk Bride


Did I mention that we are having a "Touch of Steampunk" wedding? I love Steampunk, and Duck is quirky so he was willing to let me choose such a non-traditional theme. So back to the banner ...

First I started off by making stencils on my computer.  It was pretty simple, I just found some simple gears with some help of Google and stretched them to about 6 inches across (since my scrapbook paper was 12 inches by 12 inches) and printed them out on sketchbook paper.  I chose sketchbook paper because its thicker than computer paper so it would hold up to repeated use, but not so thick that my finicky printer would have problems with it.


I cut out the outside with scissors, but used an Xacto blade on the inside circles so they wouldn't get messed up from folding (especially the smaller bits).  I also made "Mr & Mrs" stencils as well from a script-y font that I used on the wedding programs.  We (my bridesmaids and I) stenciled the gears on various scrapbook papers (I forgot to take a picture of the papers beforehand) and the letters on glittery paper (cause it was sparkly and I couldn't resist!)


We also kinda figured that would make the "Mr & Mrs" stand out from the rest of the banner ... because, c'mon sparkly! Did I mention my wedding colors are Aquamarine and Copper?


I would say my Xacto knife was the most helpful tool for cutting out the stencil for the script-y letters because I was able to cut out the inner shapes and the tight curves pretty well.  You could do they with scissors too, just be super patient and careful.


The letter stencils are going to be super delicate so be very careful!


Make sure when you trace it that you trace the reverse side (flip it over) when working on the wrong side of the scrapbook papers, or the letters will come out backwards.  This won't be a big deal for the gears, but it is for the letters, so double check!


Also, make sure you keep an eye on any kitty helpers, because they like glitter too and will steal scrapbook paper while you are distracted.  Boo thinks she is sooooo sneaky (she's really not, not at all!).


For the regular scrapbook paper, you could probably use scissors to cut out the outlines, but the glitter paper was really thick and I had to use the Xacto knifes to cut them out because the paper didn't take to bending very well.


Be careful when you are cutting because, as I have found, it is easy to cut too far into those little connector pieces and the only way to fix it is with some tape from the backside (and to hope it stays).  You can see the shininess of the tape in the above picture, where I had to doctor my poor M in "Mrs".


Once I was finished cutting out all of the shapes, I laid out a piece of thin ribbon (I used one of the cheap 50 cent spools from Joann's) and arranged them in an order I liked.


Then I hot glued the shapes to the ribbon, and ta-dah! I had a table garland-banner-thingy:


Overall, I would say that this was definitely one of my simpler projects I have done for the wedding, and one of the cutest.  You could use this type of garland for all sorts of uses, like aisle decorations, alter decorations, wall hangings, etc.  It really multi-functional, so I decided to use all my extra shapes (they were A LOT of them) and make a single, long garland just in case I need it for something.

I hope you enjoyed this simple project, I know I did!