Thursday, March 21, 2013

Quick Update

Heya Peeps!

I thought I would quickly post up a few pictures of the school project that I am working on, since I was working on the presentation boards for it at the moment.  First we we tasked with finding "inspirational pictures" that we wanted to draw from.  These could literally be anything (one of mine was a picture from Brave).  But my favorite one was my family drawn from fire:


This is actually the second generation picture, I don't have a picture of the first with me.  This one was drawn after I had completed about half of my dominant figure in the family (the one in the back, that is partially covered).  Speaking of the dominant figure, we were given a week to sculpt it out of Chavant clay.  Its a wax/oil/sulfur based clay that is solid at room temperature, and you have to heat it up to approx. 150 degrees to work with it.  

I found this project really hard, one because I haven't really worked with clay since I was in middle school, and two because the only clay I HAVE ever worked with was water-based (aka, add water and it softens fairly easily).  It was definitely an interesting process of heating the clay in my (brand-new) toaster oven (it was bought for this project and it will never be used for food (something about putting sulfurous clay in my actual oven was off-putting ... hmm)) and forming it with the help of a heat-gun (also new for this project).  Once the clay has cooled, you can carve it with sharpened clay tools and if you need to add any material back, you just heat it up and  add some warmed clay to it.  

So this is my finished dominant figure:

Sorry for the terrible table top, this picture was taken at school on a work table.
It was described by another student as "Tim Burton-esque", but the image I used was of a violent protest, where a guy is hurling a petrol bomb, so it is all based on fire. This week, we had to finish the subdominant and subordinate figures (medium and small sized figures) and this is my result:

Not the best angle, but I think it captured fire okay.
So yeah, that has been my last two weeks, trying to beat this clay stuff into submission.  Its been a lot of work, and I typically spent 2+ hours a day on it. Whew!  So my organization project has taken a back seat (you know, because I am not actually getting graded on the cleanliness and organization of my house), but I hope to start it back up again tonight or tomorrow (I have two research papers due within a week, so that might be wishful thinking).

So much for a quick update!


Tuesday, March 19, 2013

It's been CRAZY

Wow, has it really been like two weeks? Sorry!

I had to postpone my organizing project due to a big project for my form study class. That, and I am applying for a design scholarship, so wish me luck!

My class project is due on Friday, so I am hoping to have a more updated posted for you shortly! This triad family clay project might be the death of me!

Tuesday, March 5, 2013

Organizing Chaos

Hello, hello!

So today is day two of what I am calling "Organizing Chaos".  The den of my house is my unofficial-official craft/work area, but for the past couple semesters it has also been the catch-all room.  Our house has WAY too much furniture in it, so this room gets the excess (seriously there are three couches, a pool tale, at least six chairs (bar stools, folding chairs, dining room chairs, etc), a sewing machine table, a dresser, two coffee tables and a bookcase.  I admit its a big room, but that's still A LOT of stuff.

I have a lot of design and craft materials, so after my last attempt at organizing (I sorted everything into last plastic tubs), stuff has just been piling up.  It got really bad ... like seriously bad ... so bad I am not going to show you the before picture until I have an after picture to soften the blow. Day 1 was spent sorting things into piles (this is how I clean, I know it doesn't work for everyone). Day 2 is much the same, but I am also rearranging furniture.

I am looking into ways to organize my small space without just dumping everything into plastic tubs.  Wish me luck!

So yeah, I have been busying with this and I have started going back to the gym (you may need to wish me luck on that too).  I will try to keep you updated!

Wednesday, February 27, 2013

Homework

So, yeah ... homework has been keeping me busy.  On Friday, my form study class took a field trip to a classic car museum in order to sketch, you guessed it, cars! I am not a big fan of drawing cars, in fact, this was the first time I have ever drawn a specific car. Normally I draw doodled cars that have no real shape, kinda like what you see little kids draw.  Silly, right?

We were told to look through the whole museum, then choose our favorite car and draw it.  This was a bit difficult for me, because I am not a car person and this place was FILLED with old cars.  I am talking like cars from the 40s and 50s and before ...

Playing with the panoramic option on my camera ... it worked great! 


So, I drive a beat-up old pick-up truck. Not the kind of vehicle one would find in this museum (even if its 21 years old!). So after looking, I settled on this little cutie:


It is a 1958 Metropolitan.  Normally I am not a total pink girl, but it just works with this little car. Even the guys in my class group agreed that it works.  Its just a fun little car.


This is what I have so far. Its a lower view angle, because I wanted to sit on the ground, instead of standing and sketching.  We were tasked with making a detailed drawing of the car, so while at the museum, I got the main shape down, and took a bunch of pictures, so that I could fill in the details at home.


The grill is enough to make my eyes cross! It's a relatively fine square grate, and I am trying really hard to fill it all in ... whew!  This is what's been keeping me busying since last Friday ... well, this and the ten abstract car drawings that we are supposed to include when we turn them in.  I have gotten like seven or eight of those done.  A bunch of work, and this is for only one class.  I have a couple other assignments to do, but I am trying to keep on top of all of it.


Thursday, February 21, 2013

Valentine's American-Style Bento Box

The main thing I wanted to give Duck for Valentine's Day was a good, filling lunch.  We didn't want to get too much sugary, fattening stuff, so we agreed to try and be healthy.  So I tossed around a couple ideas in my head of a good, portable lunch.  At first, I was gung-ho on making mini-pizzas.  I could make them heart shaped, and cut out all of the toppings in hearts shapes.  I went to bed on the Tuesday before Valentine's all set to hit the grocery store on Wednesday morning and grab all the ingredients.  When I woke up the next morning, all thoughts of pizza had fled, and I realized that I was going to make Duck a meatloaf!  We both enjoy meatloaf, and all I could think of was how cute Japanese bento boxes are, and that I wanted to do that. Easy, portable, and cute.


I know it's not quite as pretty as a real bento box, but I really liked it.  Simple, not too cutesy for a guy to take to work and yummy AND healthy!  As per usual, I started looking up recipes on Pinterest and found this one by the Gracious Pantry. It's called "Clean Eating Slow Cooker Meatloaf."  How could I pass that up? Not only healthy, but in the slow cooker?  I loved the fact that I could mix up the ingredients and not worry about it for eight or so hours.

Ingredients:
- 3 lb. lean ground turkey
- 1 cup whole wheat panko bread crumbs (I used regular because that's all I could find)
- 1 cup shredded parmesan cheese
- 1 tsp poultry seasoning
- 1 tbsp onion powder
- 1 tbsp garlic powder (I thought I had these powders, but I didn't, so I ended up using a heaping tbsp of minced garlic)
- 2 medium carrots, grated
- Salt to taste


I started out dumping in everything but the carrots into a mixing bowl, since I needed to smoosh them all together. 


I grated the carrots directly into the bowl and mixed everything together with my hands (I washed them before and after so that I could take the picture for you).


Next, the recipe said to lightly mist the inside of the crockpot with olive oil, which was pretty easy, because my lovely friend Amy gave me a Misto.


Then I molded the blob into a loaf shape (remembering after the picture was taken to leave a half inch gap between the loaf and the side walls to prevent burning).  Then I put on the lid, and set on low for eight hours.


While the meatloaf was cooking, I used our handy-dandy rice cooker and made up a batch of brown rice to accompany the meatloaf.  Both Duck and I enjoy rice, and bento boxes always seem to include rice in some way, so it was nice to add some to the meal, so it wasn't just meatloaf.


So the first thing to go into the bowl was a heart shaped mound of rice. Then I stuck it in the fridge to wait for the meatloaf to complete.


Once the meatloaf was done, I cut it into eighteen slices (because the original recipe calls for it, and it makes it easy to know how many calories are in it).  I grabbed my heart shaped cookie cutters and the biggest slices, and cut out heart pieces to go in with the rice.  


I was excited by how it turned out.  I packaged it all up inside Duck's lunch box, with his two other treats, so all he had to do was grab his lunch box from the fridge and go.  I may have also slipped in two little cars for him to play with at his desk.  The end result was:


I think it turned out pretty good, and Duck said he loved it.  Now I am going to have to top it next year :)


p.s.

This was the card I included with his lunch:

Inspired by the Sweet Perversion Etsy Shop.

Valentine's Gummies

So finally I finished editting ALL of my Valentine's photos of my gifts for Duck.  So the next installment of his lunch gift is Valentine's Duck Gummies, inspired by Undressed Skeleton's organic gummies. I am going to post a disclaimer now: I could have screwed these up, because I had a hard time strictly following the recipe because she had three flavors posted, and the ingredients list and instructions kinda ran together.

I packaged them all nice, despite being in a Ziploc baggy. 

The recipe (so far as I can tell) is:
- 1/4 cup organic lemon juice (I may have used not-so-organic lemon juice)
- 1/4 cup organic lime juice (same not-so-organic here)
- 5 packets of unflavored gelatin
- 1 orange
- 2 cups of chopped strawberries
- I tbsp of honey

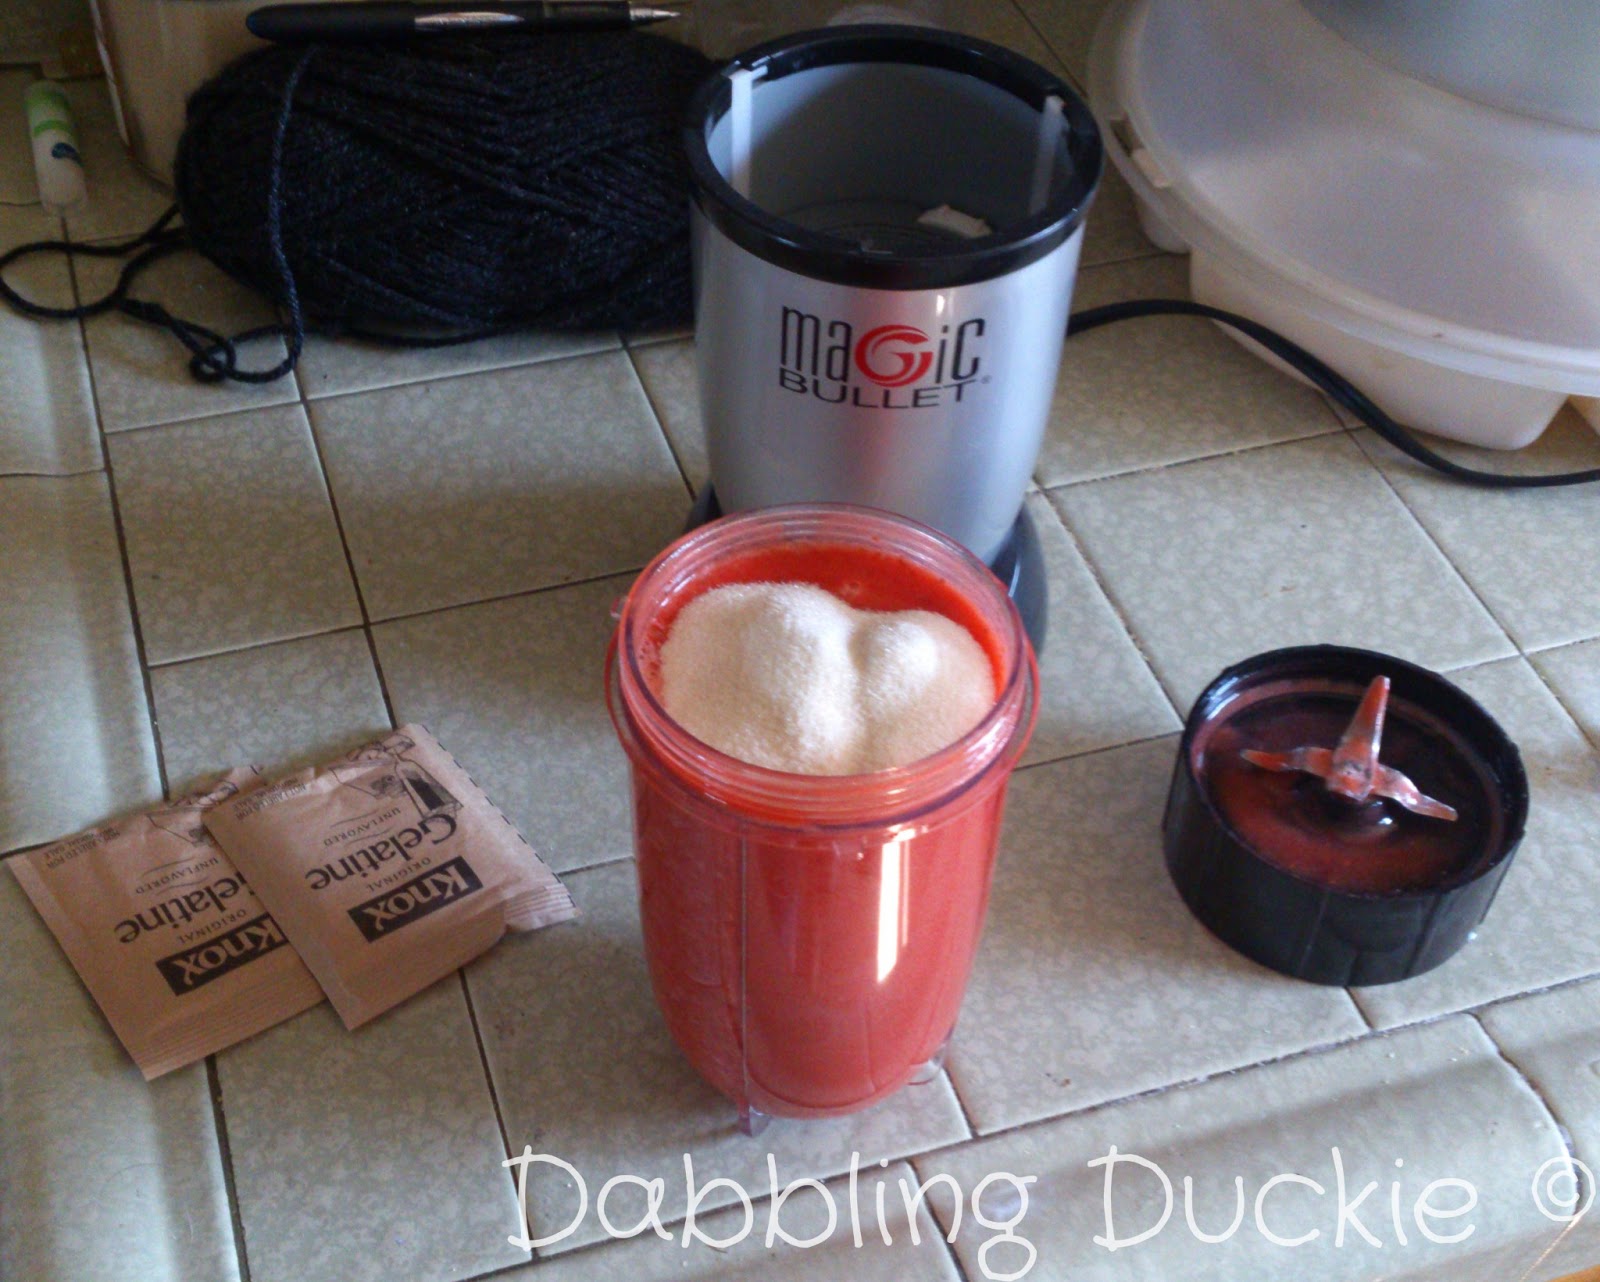
To start, I combined half of the lemon and lime juice, as well as the juice from half of the orange.  I am kinda terrified of the only true blender that resides in my home, so I started out making it up in half batches because I was afraid the whole batch wouldn't fit in my Magic Bullet.

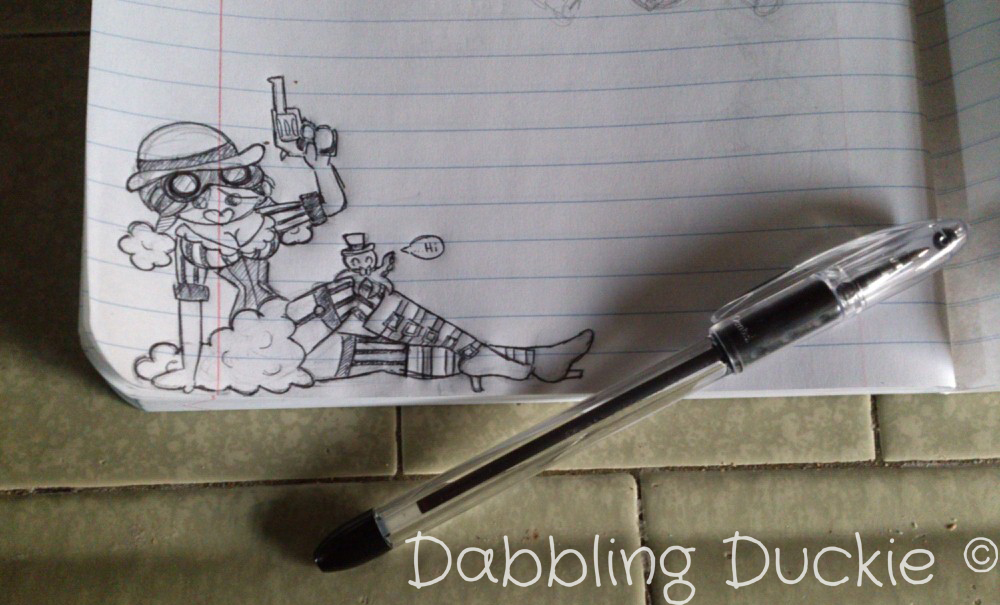
The hat and headband make it slightly less terrifying right?
So, the only strawberries I had on hand were frozen, so I didn't bother chopping them up.  I just tossed them in the saucepan with the lemon/lime/orange juices and let the heat cook them down, since I was going to boil them anyway.


The pan looked so empty, but I was okay with that, I suppose. As it was slowly thawing, I remembered I had a potato masher (at least that's what I use it for, no one has really told me if that's its exact purpose).


So once the strawberries weren't so rock hard, I smooshed (yes that is a technical term) them into a pulp to make the boil easier.


Watching it boil, I realized that it was definitely cooking down a lot, so I started the second batch on a hunch that both batches could fit in the larger Magic Bullet cup. I must preface this with the fact that I have very little counter space, so one of my main prep areas in the unused portions of my stove top.

The chaos that is my stove top.
Can you tell that my strawberries have been in my freezer for awhile? Also, I must show you my measuring cups.  I absolutely love them! They are Russian Nesting Dolls ... so cute!


 I love the Nesting Dolls.  Every since my aunt gave me a huge one that she got while she and my uncle lived in Germany, I have fallen in love.  Now I have four sets (mostly small ones) that people have given me as souvenirs from their travels, as well as my measuring cups.  You might say I have five sets, if you include the matching measuring spoons. :)


Once both saucepans had boiled the strawberries to a soft, mushy goo, I let them cool for a couple minutes before pouring them in my Magic Bullet cup.  I was kinda worried about the plastic getting too hot. Before blending, I added a tablespoon of honey.  In the original, she used a packet of Stevia, but towards the end, she notes that you can use honey instead (as it is a natural sweetener).  As I already had honey, and I am not a big fan of packet sweeteners, I went with the honey.


After blending until smooth and letting cool for five minutes, I added the five (five?!?!?) packets of gelatin.  I am not a big fan of Jello, so this step caused me pause, but I believe in trying to follow the recipe to the letter the first time, and then tweaking it later once you have a first result (okay, so I didn't go organic, like Undressed Skeleton, but I can't normally afford organic produce, and I seem to be doing okay). 


Once added, blend until thoroughly combined. Pour into a pan that give you your desired thickness of gummies.  My cookie sheets aren't pretty, plus I like an easy clean-up, so I lined mine with foil. Spread the mixture until it is evenly distributed.


 Insert into the fridge for an hour so that it firms up, and then choose your desired cutter.  The smaller, the better, so the gummies are bite sized.


I chose my "duck" cutter (yeah, yeah, it is probably a chick or chicken cutter, but I prefer to thick of it as a duck) from my fleet of pie crust cutters.  The pie crust cutters I have are my smallest cutters, and are bite sized, so I used them.  I am going to be on the look-out for smaller cutters, but for now I love my wee crust-cutters.


As I was cutting the ducks out, I realized that my cookie sheet had been too big, so the gummies were super thin.  Next time, I am going to find a smaller lipped pan, so that they are thicker.  I tried to interlock my shapes so I could get more gummies with less "waste".  The scraps I ended up rolling up in the foil to save for later, in case they were a hit.


Some of the gummies stuck to the foil and/or tore as I picked them up, but overall it was pretty easy to cut them out.  I may have gotten into autopilot mode and forgot to use the interlocking pattern for a bit, but it wasn't a big deal. :)


 I ended up with a small army of ducks. Even though I am not keen on Jello, I tried them.  They ended up being really tart.  I personally wasn't a big fan, but Duck tentatively enjoyed them.  If you like sour gummies, I think that these gummies are perfect for you.  They were NOT bad, but they just weren't my personal taste.  Next time, I would use less gelatin, because they were a bit rubbery.  Overall, not a total win, but not a total fail.


Wednesday, February 20, 2013

I know, I know!

So, I meant to do three good posts in a row, and I kinda (really) failed.  I promise that I will try to get the next Valentine's Day post up soon, but until then, have a Steampunk Pin-Up girl to tide you over ...


My favorite part might be the octopus ... he is so adorable! You may see more of him later ... 


Wednesday, February 13, 2013

Valentine's Goodies!

So, I know you haven't heard from me in awhile, but I have a surprise for you!  I have my first how-to blog post for you all!

I have seen these snacks all over Pinterest, and I thought it would be a good sweet treat for my Duck.  We agreed not to get really sweet chocolates or cookies or anything too fattening (we are both attempting to diet) so I thought this was a good compromise.  I could be wrong, but since these lack multiple sticks of butter I was thinking these *might* be better.

Most of the pins lead to dead-end sites, but I managed to find one with instructions! Score!  So I based my snacks on the treats made by Like Mother Like Daughter's blog.

They taste amazing, I promise!
For my version, you will need:
  • Square "Buttery Snaps" pretzels
  • Hersey's Hugs (mine are the special raspberry ones)
  • Pretzel M&M's
They are pretty basic to make.  First you lay out the pretzel's on a cookie sheet.  I chose to use square pretzels because I think they look nicer. On top of the pretzels, place the Hugs, trying to center them as best you can.


Can you see the Hug that is slightly more different than all the others?

You will need to preheat your oven to 300 degrees in order to soften the Hugs. The original says to heat them for 3 minutes, but when I took mine out the Hugs were pretty liquidy, so next time I am going to try 2 minutes so that they hold their shape better. Once out of the oven, gently press the M&M's into the melted chocolate.

I was going mostly with Valentine's colors but I wanted to see what the other colors looked like.

I chose the pretzel M&M's because they are my favorite, and yes I know its a bit redundant, but it helps with the sweet and salty feel of this treat. These are for Duck, but I may have sampled the not-so-Valentine's-colored ones/  They were amazing!  Not too sweet, and I love the raspberry taste ... mmmm!

So I may have accidently opened the bottom of the pretzel bag ... oops!
The only tedious part of this project was unwrapping all of the Hugs!  I had a small mountain of wrappers when I was done.


And of course the kitties *had* to be underfoot while I was working. They were convinced that I was going to drop something tasty for them (I didn't!).  I also made a couple other things for Duck's Valentine's gift, but one is still cooking (its for him to take to work for lunch tomorrow (aka Valentine's Day)).  The other part is a treat to go in his lunch, along with these pretzel snacks.  I hope he likes them, because I love making gifts for him. :)

Yum, yum, yum!


Saturday, February 9, 2013

I'm ...

... IN!!!

I passed portfolio! I found out yesterday at noon-ish (because I didn't go with the mad rush right at noon).

So happy, and a lot of stress has been lifted :)

Thursday, February 7, 2013

Cuteness

Today I am posting something cute, for tomorrow I may or may not be in a good mood.  They are posting the results of portfolio tomorrow at noon!

I don't know who to credit for the cuteness, but the original link sent me to 9GAG
I may have this soft spot for ducks, and isn't the baby adorable!? It made me smile, so I wanted to share it with you.